The photoshop brush tool is the core of the photoshop image editing process. It has the ability to transform an ordinary photograph to a realistic photograph. It is widely used among all the graphic designers. Therefore, you should learn to work with photoshop brushes. After all, getting well versed with the basics of photoshop brush tool is essential for its proper usage. This article presents the basics of photoshop brush tool and the photoshop brush panel.
Getting a proper understanding of the basics of photoshop brush tool can save a lot of time in editing. Basically, it is a painting tool. So, you can fill color in objects using strokes. It allows you to paint on objects, similar to painting in real life. As an aspiring designer, don’t forget to view the STEP WISE DESIGNING PROCESS FOR BEGINNERS: A PRODUCTIVE APPROACH. Learn to work with photoshop brushes from the following points.
One of the important basics of photoshop brush tool: Blending mode
You can control the blend modes while painting on the canvas, by using the photoshop brush panel. There are certain blend modes which specifically come with the brush tool. The default blend mode simply applies the color using strokes without any particular transformation. The behind blend mode paints behind the existing strokes. The clear blend mode erases the pixels, which have been applied using the brush tool.
Such varied options give you a chance to express your creativity. You can take some inspiration from these 7 CAPTIVATING GRAPHIC DESIGN PORTFOLIOS THAT WILL AMAZE YOU. Understanding the blending mode is one of the basics of photoshop brush tool that should be understood for achieving good editing.
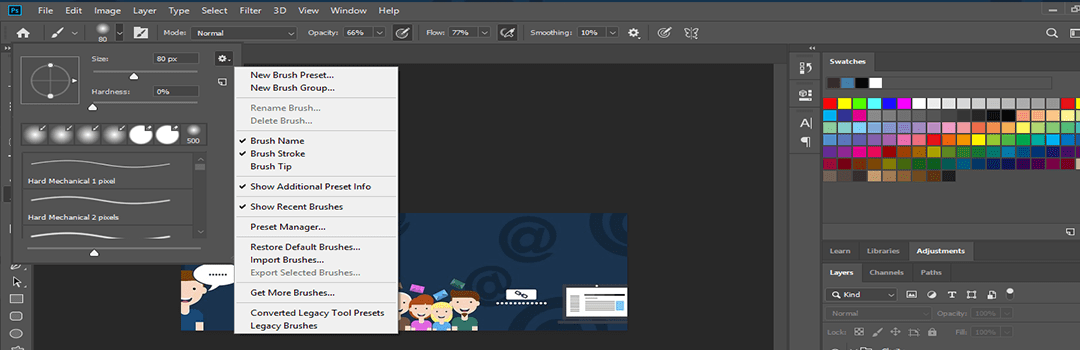
The toolbar: A vital part of learning the basics of photoshop brush tool
The brush toolbar gets active when you’re using the brush tool. It provides various ways to use the brush tool. It will make it easier for you to learn to work with photoshop brushes. You can use the saving option to save the specific settings of the brushes. The save button is the first button on the left side in the brush toolbar. Henceforth, you can access the saved brush anytime from the brush toolbar. Use the brush palette on the brush toolbar to get a full control of the brush tool. Certainly, the brush toolbar is an important part of the photoshop brush panel.
It is necessary to know how to use photoshop tools to become a good designer. The overall importance of designing as a profession is increasing as well. It has become a well-reputed field. If you master these basics of photoshop, then slowly but surely, you can excel in the designing field.
Managing the opacity and flow
Opacity is concerned with the intensity of colour. Flow is concerned with the rate at which colour flows out of the brush. Don’t keep both these elements very high. On combining both of these, you can access brush tool properly. Experiment with different levels of opacity and flow. This will enable you to learn to work with photoshop brushes properly.
With the help of this tool, you can incorporate innovative ideas in your designs and make them outstanding. If you’re having trouble generating ideas, click here to know the ways and methodologies you can use for generation of original ideas. Proper management of opacity and flow is one of the significant basics of photoshop brush tool and the photoshop brush panel.
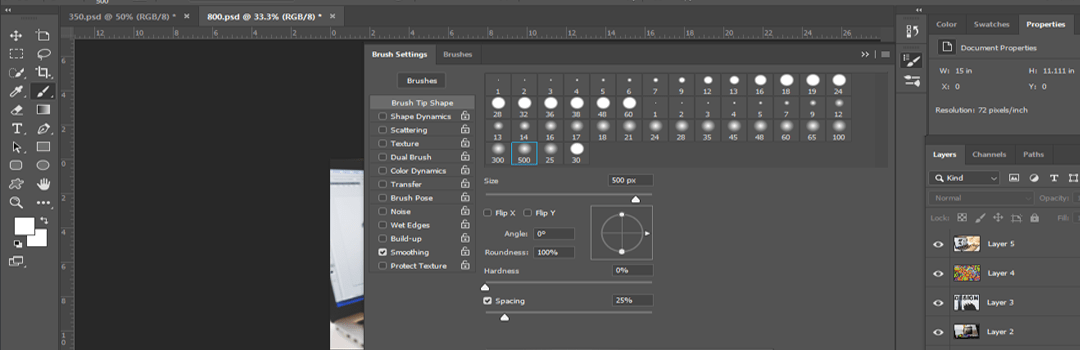
The brush tool dialog: An essential basics of photoshop brush tool
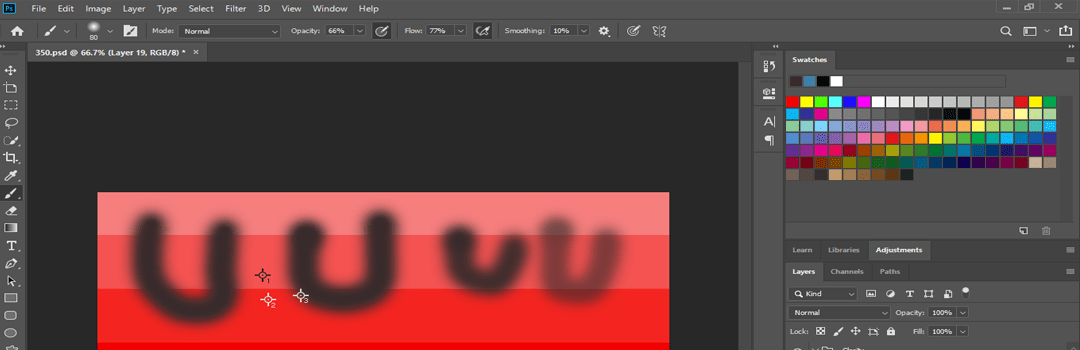
Right click on the canvas to open the brush tool dialog. It is easy to understand the options of the dialog. The size option can be used to vary the size of the brushes. The hardness option makes different kinds of strokes depending upon the hardness level set. The predefined brushes are the various ready to use brushes available. You can go through their strokes and find the right brush for your design. The brush tool dialog is the primary basic of the photoshop brush tool.
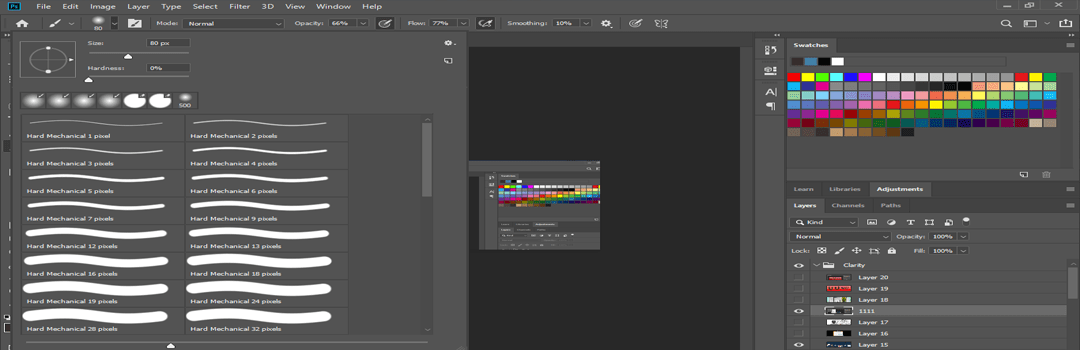
Sub part of the dialog
There’s a small arrow in the right corner of the brush tool dialog. Click on it to access the sub-menu of the dialog. Use the display option to modify the look and feel of the predefined brushes. The ‘managing’ option enables you to load, reset and save new brushes. The ‘preset’ option provides you with a set of default presets.
All the above points serve as the basics of the photoshop brush tool. You must understand them before using the brush tool. Above all, the photoshop brush panel can be a very effective designing tool, only if you’re well versed with its basics.
know about other designing software. Read our blog on: THE BEST FREE GRAPHIC DESIGNING SOFTWARES WHICH SHOULDN’T BE MISSED.